
I often get asked about specific parts when it comes to building a gaming PC.
As the discussions evolve it tends to go to what parts I use in my own gaming rig. Well that question is a little unfair as my job gives me access to some of the latest in high end technology. So this makes the factor of cost a non-issue for me in many cases.
While my personal rigs tend to have higher end equipment, I have for many years championed the average gamer and mainstream user. This is my focus and passion. So let’s word the question a bit differently. If I had to go out and buy parts to build a gaming PC for myself, what would I choose? My answers are probably going to surprise you.
Picking the Processor
Picking a processor is not nearly the mess it was back in the day. Today even lower cost processors provide a great gaming experience. Our goal is to build a gaming rig that I would personally be happy with and that is personally affordable. Like many of you, I have outgoings like a mortgage, car payment, insurances and most important of course, a wife and kids; I am sure you get where I am going.
For a pure gaming rig, the AMD Ryzen 3 1500X is just a hard chip to beat. With 4 cores and 8 threads it can multitask well enough for most gamers needs. It can even be a solid streaming chip in a single PC streaming setup with realistic OBS (Open Broadcaster Software) settings. The stock cooler does a great job at stock speeds and even has a little overclocking headroom if you want it.
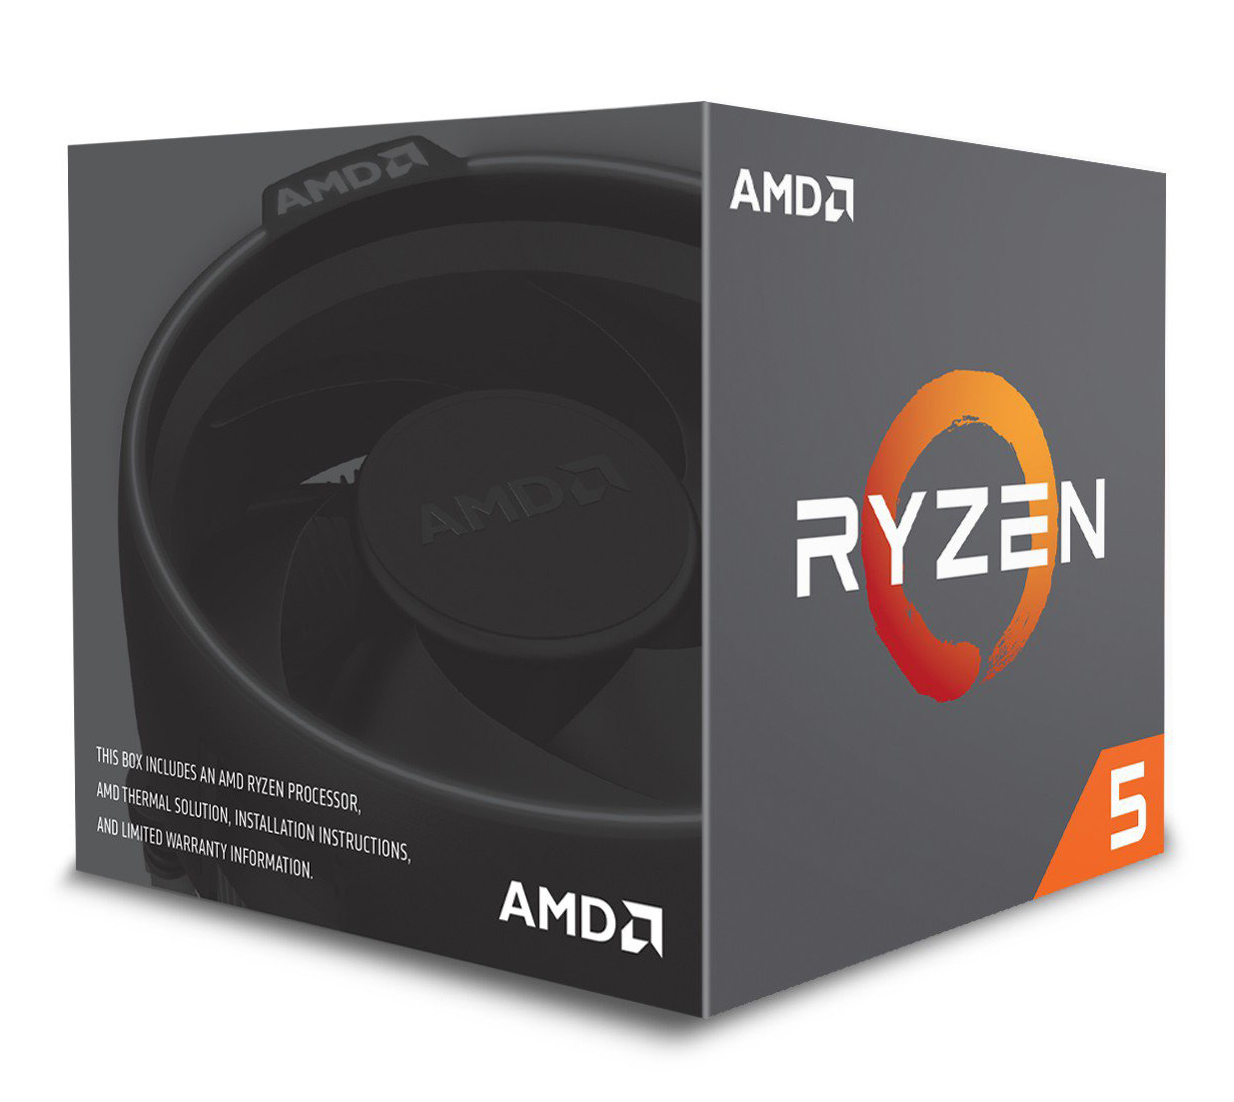
While many will point at the 1600 as a better solution, I would disagree with them. Games today are just not pushing the thread count that hard and while the 1600 might be a little better at streaming, from a single gaming PC the performance in games is pretty much the same with a 1500X having a slight edge due to higher clock speeds out of the box.
Time for the Motherboard
Choosing the right motherboard is a bit more challenging. I am not interested in all the nifty, wiz bang features that look good on paper and raise the price to ungodly levels. I want practical features that will give me real gameplay experience or long term benefits. Therefore I will forgo the X370 and look instead at the B350-based boards.
The feature sets on some of the B350 boards are well designed and give me the things I look for. I want a good reliable NIC solution, good onboard sound with a headphone amp and solid reliable performance.
Some overclocking headroom is nice but not a deal maker/breaker to me. Overclocking the CPU looks great in benchmarks but in real game play experience, stock is usually more than enough to do the job well.
Do not forget the Memory
Picking memory with AMD Ryzen can be confusing, but it’s not nearly as difficult as so many sites make it seem. I have tested memory at 2400, 2666 and 3200, the difference in benchmarks might look impressive but when actually playing the game it is impossible to tell the difference. From my experience, the sweet spot is 2666, it has solid performance and reasonable price points.
You could opt for a lower latency in the memory, but this would raise the price and again, outside of benchmarks I have not seen any real positive impact to the gaming experience.
As for amount I am sure many will tell you for a pure gaming rig 8 GB is enough and they are right, yet I would still go for 16 GB. There is no substitute for having a little spare memory around in your system. It makes the whole system just a bit more consistent in terms of speed. OK, it costs a bit more, but in my opinion, it is worth it.
Storing your data
Next up is storage, and here is an area where I differ with pretty much every pundit on the planet. Most people will tell you the best solution is an SSD for the OS and a spindle drive for storage, they do this for you to be sure you have a 1TB or more of storage.
I think we are enabling a hoarder mentality in gamers that is not needed. Most gamers play 3 or 4 games actively at any one time. You could push this up a little, but the truth is they just do not need to keep their entire, or majority, of their Steam Library on their system. For my personal rig I use a 480 gig SSD, as a single drive and that is all. It gives me plenty of space for my OS and the games I want to play.
Now some streamers will argue the need for more space for the various files used for their streaming and recording activities. However, if they need some extra space, I would suggest upgrading to a 240 gig SSD for the OS and apps and a 480 gig for games. If I need more space I use an external drive of my NAS for storage.
I find this solution is fast and reasonably priced without me sacrificing that slower access of a spindle drive in my daily usage. Stop hoarding files and games you seldom use, and you will soon discover that a pure-SSD life is awesome.
What about a box for all this
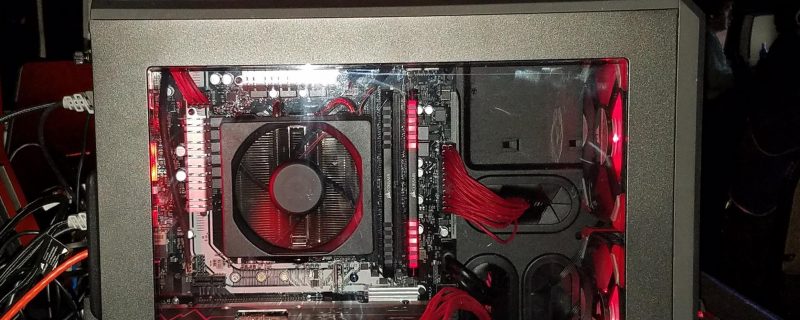
Case and power supply are not all that hard, at least for me. I personally like a small case, ITX and mATX that gives good direct air flow options. Well placed fans mean you can use air cooling and yet be very quiet in operation. I look for good front intake options and then a way for the GPU to get direct cool air. The best solution in my experience is find a case with a bottom intake fan. This allows you to use a low speed fan and blow cool air right into the GPU.
For my PSU I look for a good quality unit with modular cables. The power output for me tends to be around 650 watts as a sweet spot. This gives enough power for our build and a little headroom if needed. For the modular cabling I try to find flat cable designs. These are a bit easier to work with.
Now for the display
I have held off on the video card since the choice is going to be obviously a SAPPHIRE NITRO+ or PULSE card 🙂 But let’s first start with the monitor. Knowing what monitor we will use will allow us to make the best choice for our video card solution.
To begin, I LOVE ultra-wide gaming. I am spoilt to it and will not game on a 16:9 if I have a choice. 21:9 is just an amazing experience. With that in mind my gaming resolution of choice is 2560×1080. The reasoning is simple, it is easier to drive this resolution without paying high-end video card prices.
While you might think I would go for a 29″ monitor, in truth I would do a 34″. There are some great options with 144hz, 2560×1080 and FreeSync. I know the PPI (Pixels Per Inch) police will come out of the wood work and cry havoc. Well they can cry all they like! I have a 3440×1440 monitor as well as a 2560×180 and can tell you the PPI issue is not nearly as big a deal as they like to make it out to be.
The reason for this is twofold. First, I sit back from my monitor. A 34″ screen is big, and I do not want to spend all day physically turning my head to see. The increase distance makes the PPI issues vanish right before your eyes, pun intended. The second reason is just pure biology, as you get older your eyes get worse. The bigger display means everything is a little bigger on the screen and just easier to see.
With this mind lets pick our video card. For my rig I would buy a SAPPHIRE Pulse Radeon RX 580 8GB card. You can get by just fine with an RX 570. Even a 4GB card – if you need to keep costs down – can deliver a solid experience. I prefer a little extra performance headroom and so opt for the 580. This lets me run all my games at high, crank out some great framerates and make use of the 21:9 goodness this monitor brings.

The SAPPHIRE PULSE series is my choice for value. SAPPHIRE NITRO+ is a great series and if you want the best SAPPHIRE has to offer. However, I am trying to keep cost a bit more under control and so PULSE delivers great performance at an affordable price.
Wrapping it Up
I have, as you have noticed, not talked about keyboards, mice or headsets. The reason for this is that these items are a very personal choice. They are your interface to using your PC and can positively or negatively impact the gaming experience.
As I stated at the beginning; this rig is what I would personally build if I had to go out and spend my money. This is a decent gaming PC that is not the lowest cost, but does offer great performance at a reasonable price point. The parts are designed not to hold you back, but keep spending under control while still providing a great gaming experience.
So how much for such a build? I did the whole build the other day for pricing and was able to build this system with the 34″ monitor for $1550. That’s complete without the OS and peripherals. With some tweaking and bit more serious effort in the shopping I got that price for the same system down to $1300.
I know this is not what most people consider a budget build, but it is a great price for a system that will give you an amazing gaming experience. Also consider than many “build” article only lists the box, my pricing includes a $500+ monitor.
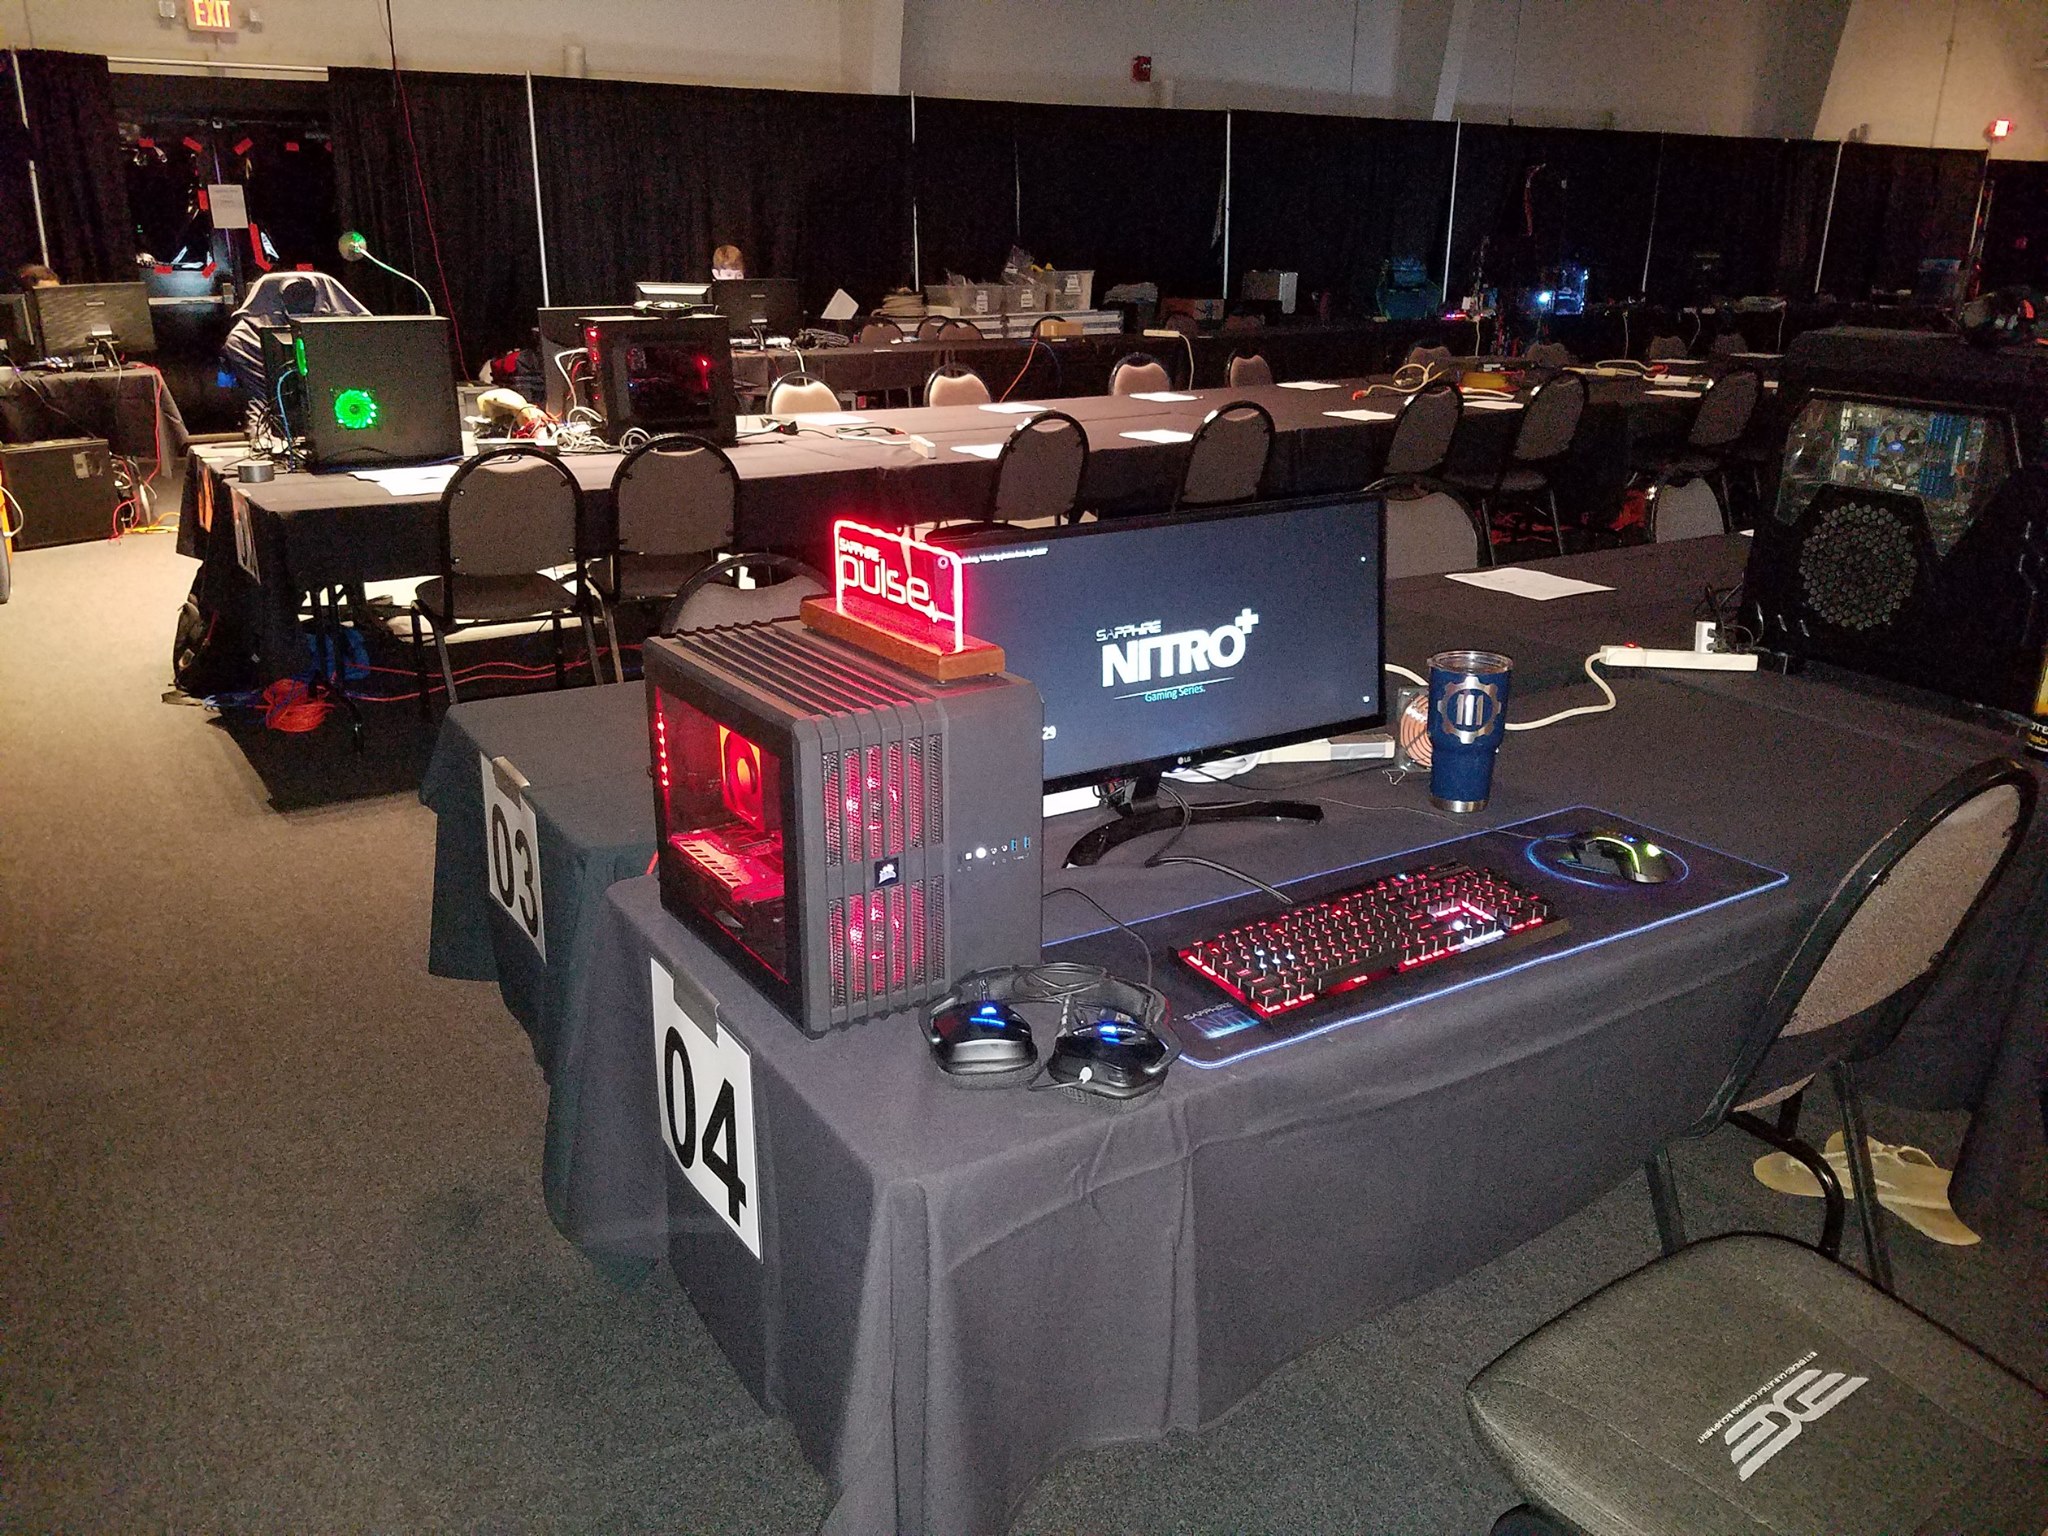
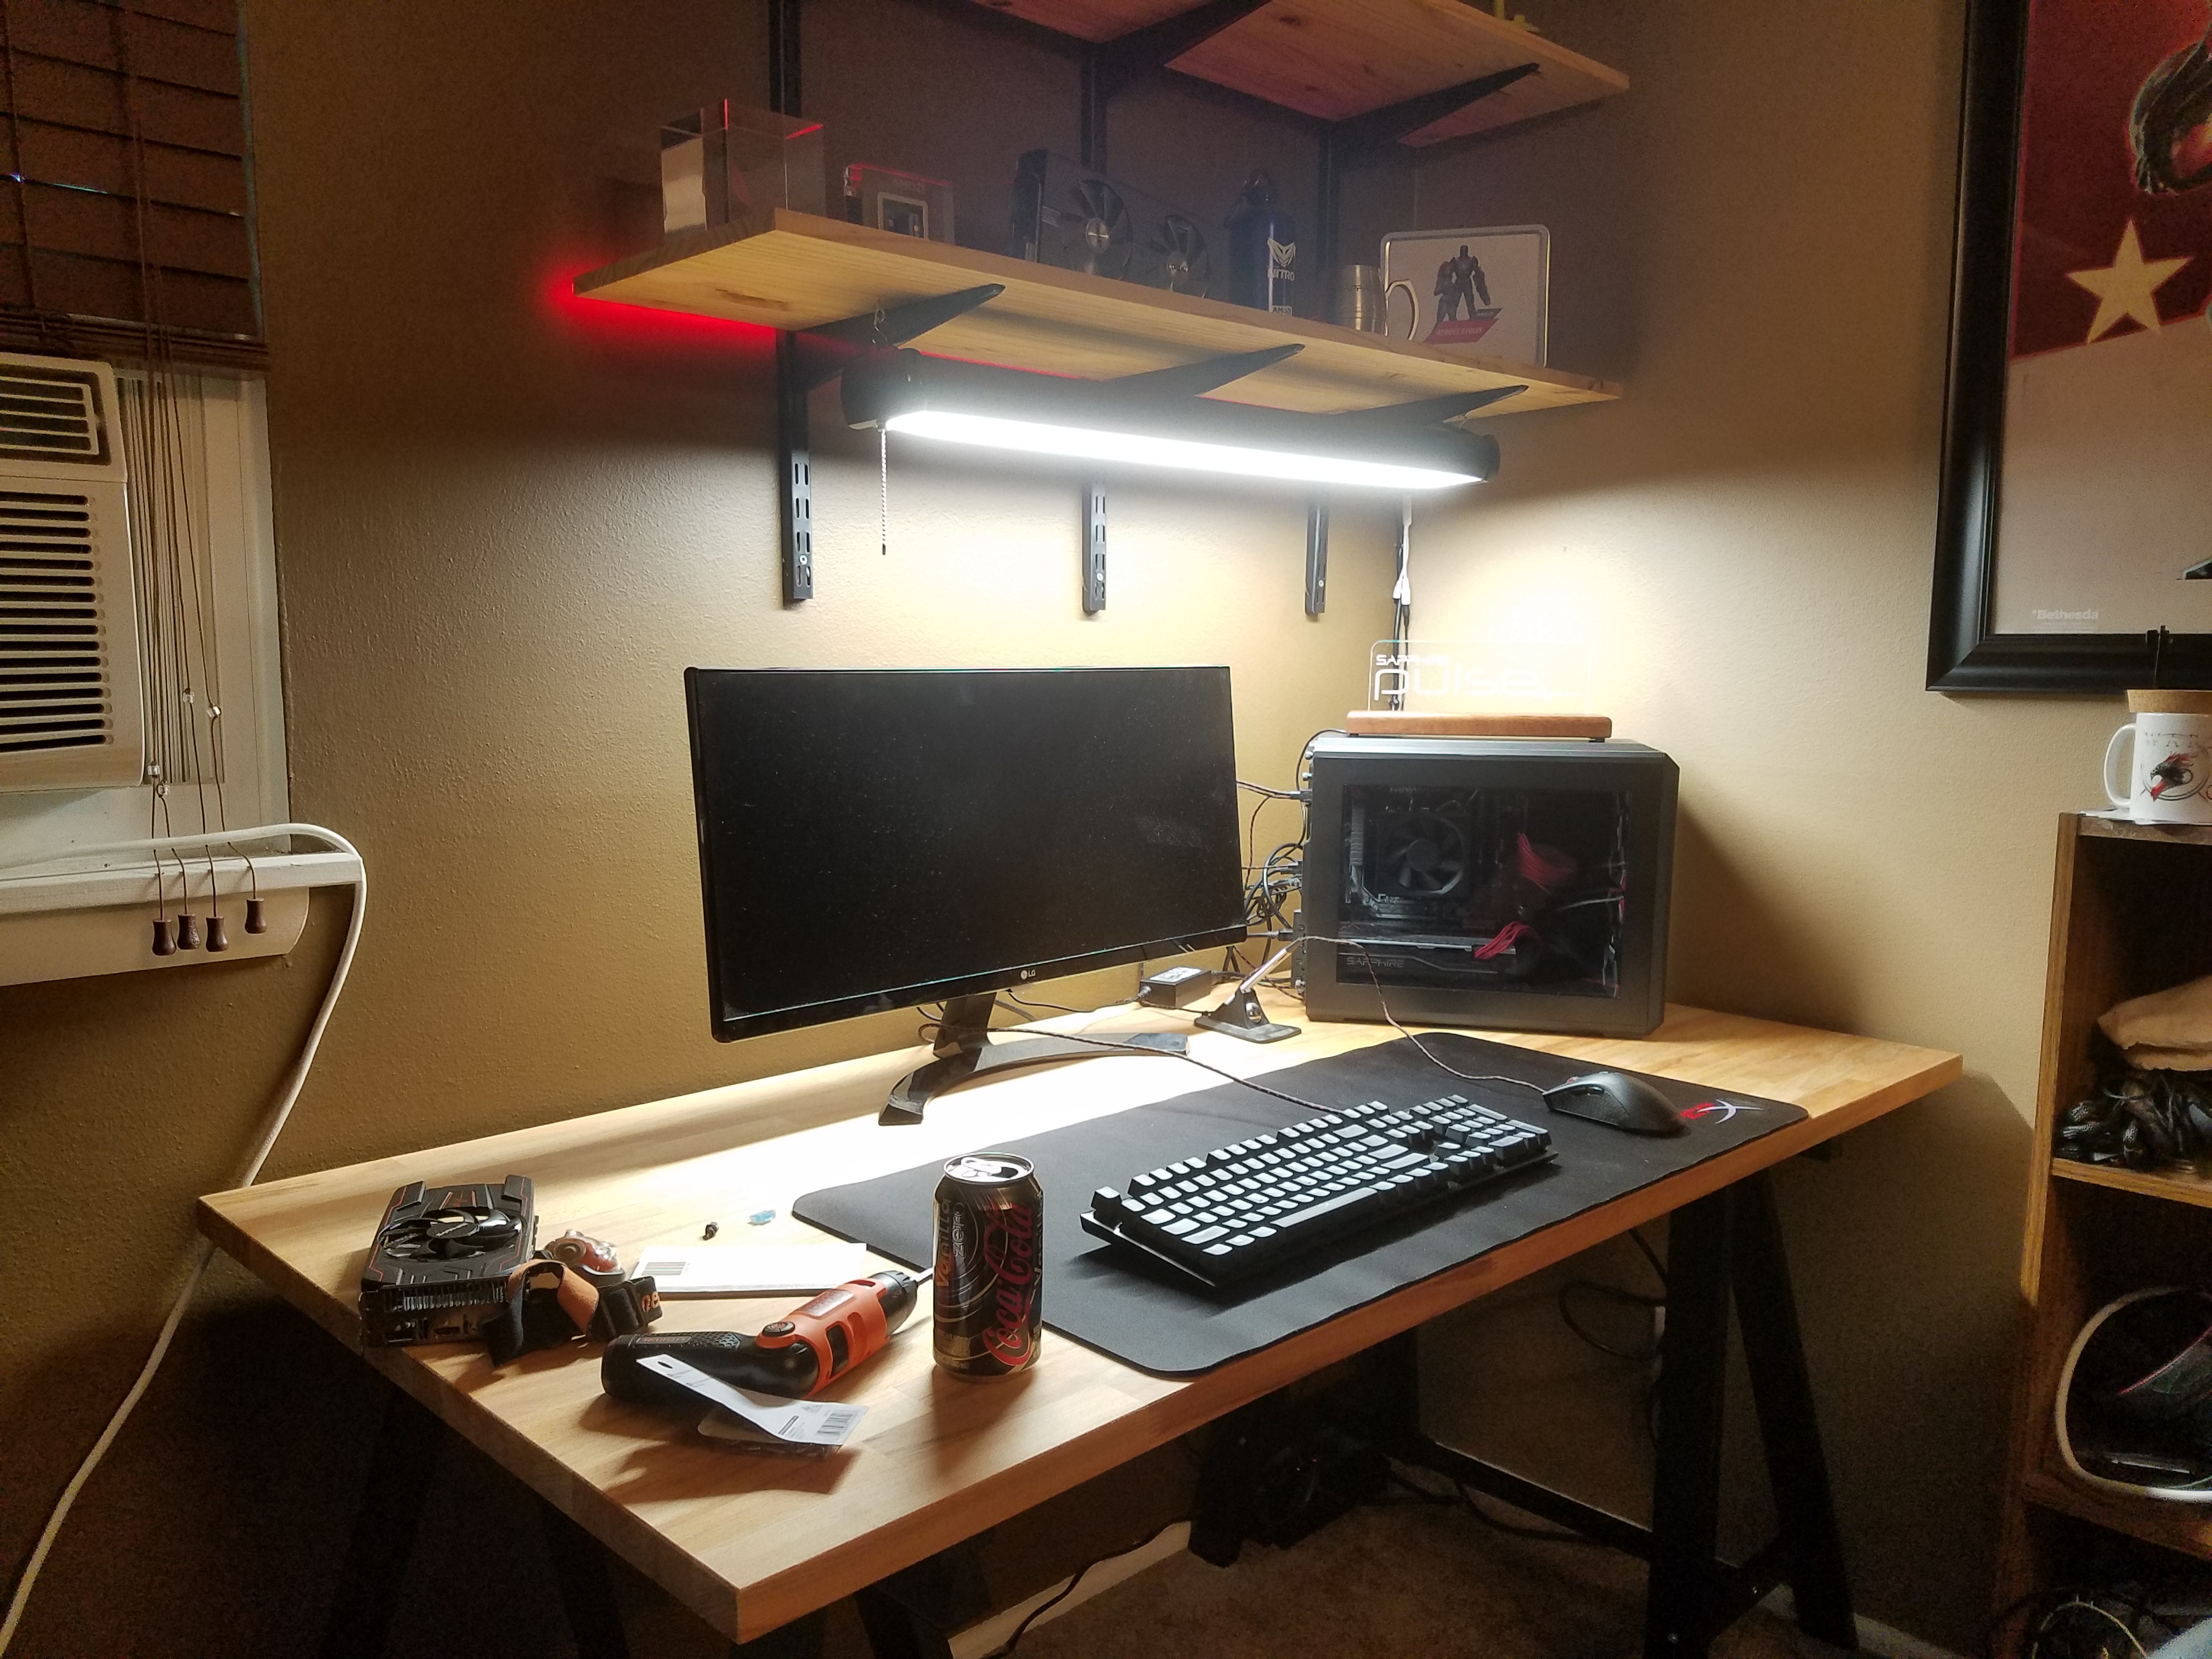
“Well Ed, it is easy to talk about a build and theorize that it will give a great experience, but building the system is the real test.” Guess what: I’ve built it and use it regularly. When I made the new build for local LAN events, I wanted to show a more everyday system anyone could get. If you want to see this little beast in action, watch for local LAN events I am attending in USA, and you might get the chance.
Now before someone points this out in the pictures, I did change this build slightly for LAN events. I am using an LG 29” monitor instead of the 34” model. Had to consider ease of transport for LAN events.
I would love to hear your thoughts about this build! Also, please tell us about your own systems and the reasoning behind them!