


Today we will be taking a look at a few techniques that can be used to make games both old and new (but mostly old) look better on Radeon graphics cards.
Stay tuned for part 2 that will be coming next!
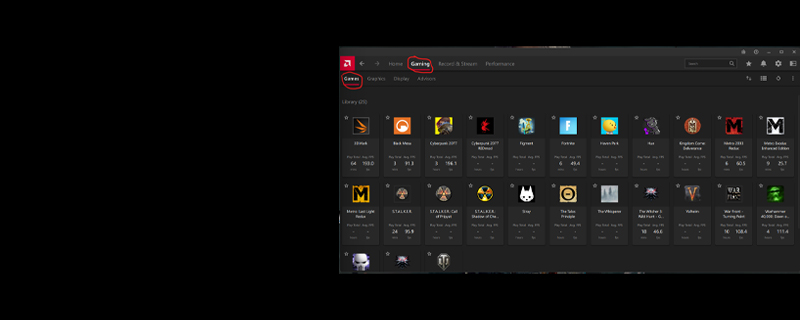
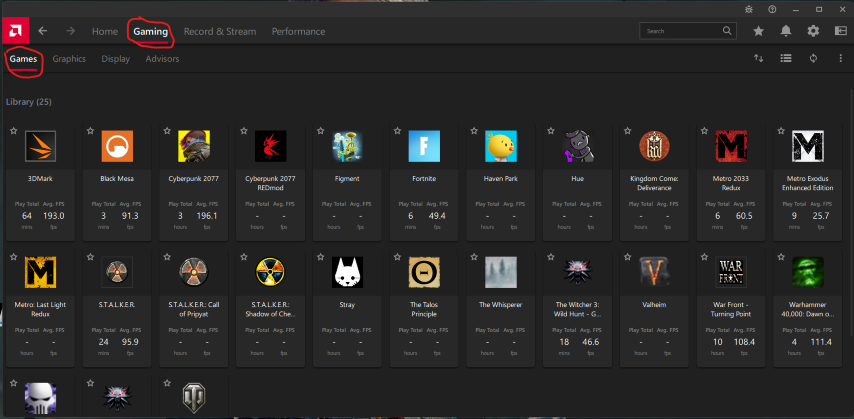
Where can I find these settings?
We will be referring to the settings found in the “Gaming” tab.
You can set these options both globally as well as on a per game basis by simply clicking on the game in the list. In general, I prefer using per game settings when dabbling with these specific changes.
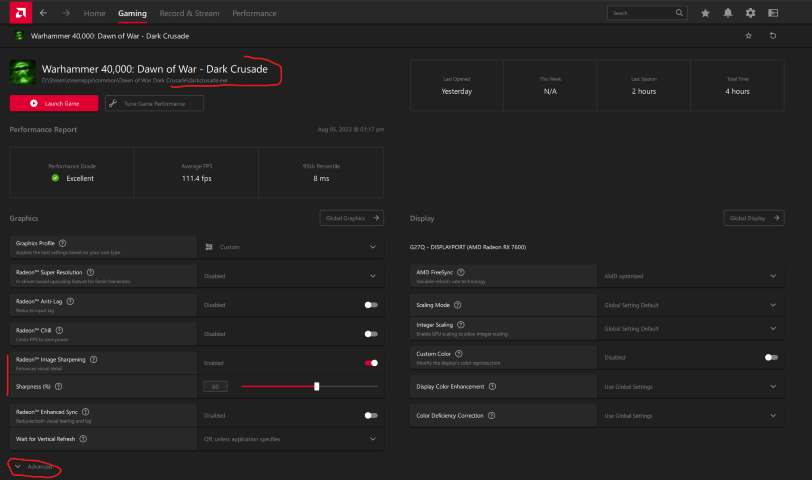
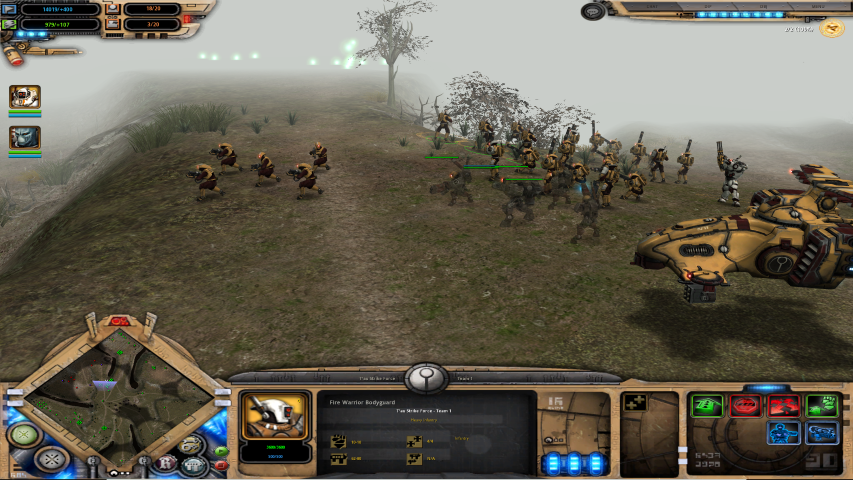
The game I chose for testing is Dawn of War Dark Crusade. It is a relatively good looking mid-2000s video game which lacked some graphical grunt in a few areas that I will expand upon below. It is perfect for this guide. Please refer to the below screenshots I took at 1440p with the game’s maximum quality but no other changes added:
2560x1440 max settings, but nothing else touched!
It looks fine considering its age. But we will make it look a lot better!
Adding Anisotropic Filtering to games!
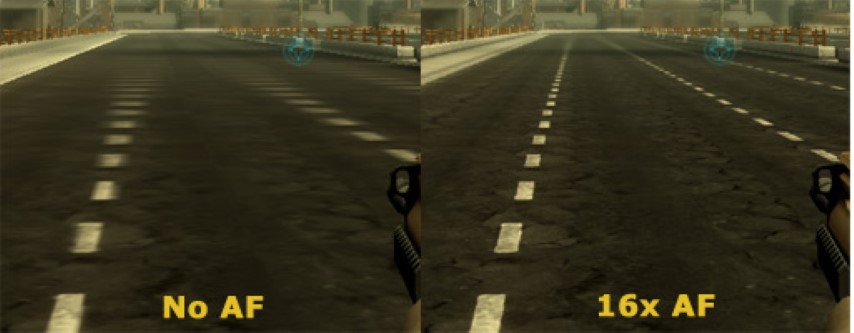
What does Anisotropic Filtering do? It is a type of technique that makes textures in the distance and/or at oblique angles less prone to showing bad artifacts or blurriness. A clear-cut example can be seen below:
Taken from this excellent page!
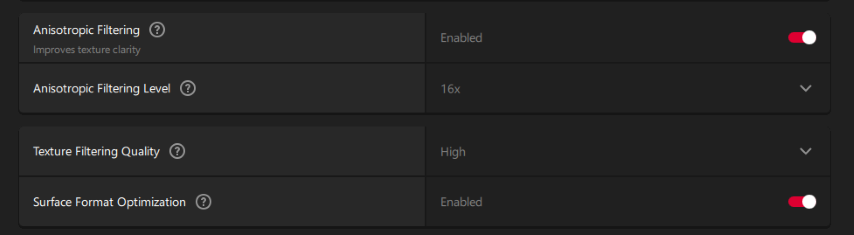
Now this is a bit of a worst-case scenario but it does highlight just how much of a difference anisotropic filtering can make. Most modern video games support Anisotropic Filtering, usually up to 16X. Some older games do support this technique natively too, but others are stuck using the inferior Trilinear filtering or even worse – bilinear filtering. Those techniques handily lose to Anisotropic, and in cases where a game does not support it natively, you can enable it or should I say, force it, via the AMD Control Panel:
This is a very powerful technique and can greatly aid in the visual fidelity of many older titles. It is also very cheap to perform on modern GPU pipelines so even a RX 6500 XT wont struggle too much here. However, there are 3 things to keep in mind:
- Certain older games with specific pixelized art design may look worse with Anisotropic Filtering enabled. I recommend against using it in titles like Lode Runner Mad Monk’s Revenge or DOOM. While it is a big upgrade to most games, there are some exceptions!
- If a game has a native in-engine version of anisotropic filtering, enable that instead of forcing it via the driver. If the developers were competent, it will look/perform better. What you can do instead is switch texture filtering quality to high (more on this in a minute)!
- Try to go for 16X filtering. Now the reality is that even 4X or 8X will show massive gains over trilinear filtering or bilinear filtering. The performance delta on an old game is usually around 3% between 8X and 16X, and you already have a lot of frames to spare. Might as well go all out!
Let us see what adding forced Anisotropic Filtering does to our previous picture:
Now if you open this in a separate tab and focus on the grass in the distance or oblique angle details you will see a truly massive gain in fidelity. Check out the top of the hover tank on the right where a lot more of the detail can be seen.
Lastly before I move onto the next topic, let’s cover the last 2 options from the image shown above.
I will be honest with you; I did try to find a difference in visuals when switching between these presets but I could not. Now this could be the limit of my eyesight or I just didn’t find a good game to test it in, but any visual loss or gain here must be minimal. Thankfully, the performance impact is minimal as well. So, if you are in need of extra frames in a modern video game – you can check out Performance mode. Maybe it can add an extra frame give or take. But if you are beautifying an older title, it is fine to set the Quality preset here!
The other smaller tab I recommend setting to the default - Enabled. It is there to help compatibility and performance and it does not seem to affect visuals.
Adding anti-aliasing to games!
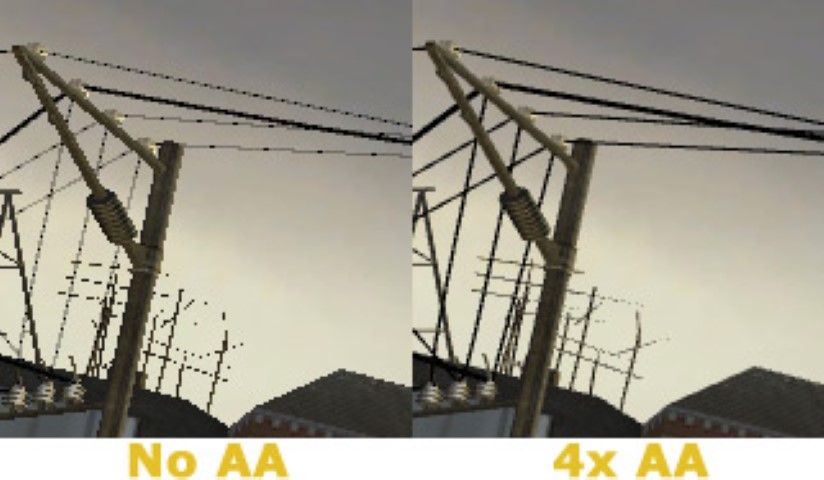
The next thing which many older games may lack is a good anti-aliasing solution. But what even is this thing called anti-aliasing? Well, the same way anisotropic filtering can work well on reducing problems with textures, Anti-aliasing can help combat jaggedness, a staircase effect on certain objects within a game’s world. Here is another example:
Notice how the thin power lines look a lot cleaner after this change!
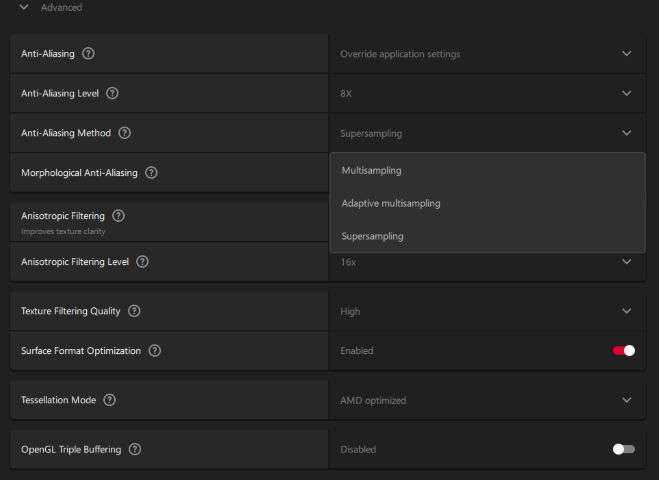
This is self-evidently a far better picture and a massive improvement in clarity. With Radeon Control menu you technically have 4 total types of anti-aliasing. The more demanding ones are Multisampling (MSAA), Supersampling (SSAA/FSSAA) and Enhanced Quality Supersampling (EQSSAA). The order in which I gave them here coincides with how demanding they are as well as their quality. Multisampling is a classic and it works really well in most older games, but it loses out to full screen anti-aliasing which in turn is slightly under AMD’s enhanced Supersampling. Do note – all Supersampling is incredibly performance intensive since it downscales from a higher resolution to a lower one. It is the one compatible with the most games but it is also a hammer relying on brute force to get results. Thankfully, the RX 7600 is like a monster in comparison to any of the older 2000s era GPUs so it has no issues at all with the task at hand!
What about MLAA? It is an excellent type of post-processing anti-aliasing called Morphological Anti-Aliasing. It is used to apply a form of full-scene anti-aliasing to any game, with a low performance cost. Do note that it can incur very slight blurring so whether you use it or not does depend a bit on the actual game in question. Thankfully, there is a way to combat the slight blur in full, but I will get to it later.
So how does adding anti-aliasing work here? I decided to add 8x EQSSAA to the game so check it out in full screen:
Do note – 16x AF is still on!
As you can see there is a nice gain in visual fidelity for sure. Especially around the edges of my units and certain map objects. Honestly, the difference in actual gameplay will vary depending on the number of thin lines or other objects that showcase aliasing the most,but it is noticeable at all times. It is a very large visual gain when actually playing the game in my opinion and well worth the cost.
As for MLAA, I didn’t notice added blurring in this game to be an issue, it seems imperceptible. However, in the event you find some or want extra detail, you can just not enable it and allow the excellent Super sampling to do all the work….
Or you can also combine it with the next tip!
Radeon Image Sharpening (RIS) to the rescue!
Remember how I said we have a way to combat blurriness? Well, this is it. The way image sharpening works is that it increases contrast on edges within an image and in this way, it can combat blurriness and, in a sense, reclaim or expose detail. Of course, too much sharpening is not optimal either since it can start distorting the image and create its own artifacts too! AMD’s Radeon Image Sharpening (RIS) is very powerful because it offers a balanced sharpening algorithm that can be set in its strength on the user’s side while being generally smart enough to avoid most instances of over sharpening.
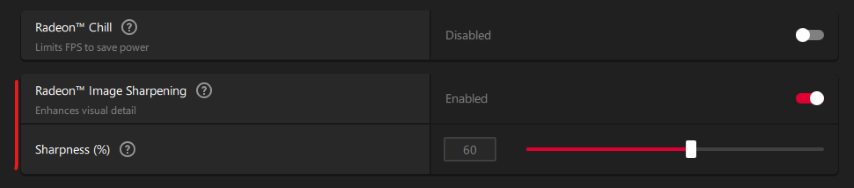
This is how to enable it:
There are a few things one must remember here and they are important:
- Over sharpening an image can produce bad results. RIS has been made to avoid many instances of over sharpening, it is a sophisticated algorithm after all. But it isn’t perfect. So be careful when using it. It is a smart hammer and it has its uses, but not all scenarios will benefit from it.
- Certain games have their own sharpening filters within their menus. Sometimes they can be as good as RIS, often they are not. But they will still add to the image’s sharpening level. Make sure to take that into account!
- RIS is applied to a game’s user interface. A native, competent implementation of RIS inside of a game which does not affect the user interface or certain post processing effects will be superior, but that is a rare option.
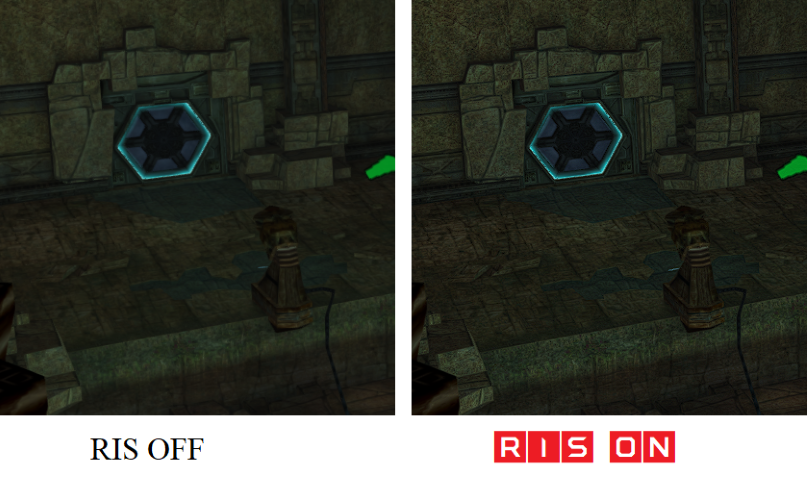
Let us add RIS to the image and evaluate the full technique now!
Compare to the original picture at the start of the article.
I think this is a monumental improvement. A lot more detail can now be seen on the units and the image quality looks far more modern now. This can also combat any and all blurring from TAA or MLAA. Do note that I used 60% for this game and I think this is a good setting for Dawn of War. But remember, you may need more or less depending on the game so feel free to experiment. If you think it needs more sharpening or less – you can change it at your own leisure!
A final but important piece of information – RIS is very useful in many modern games too. You see, while some new titles have smarter, high-quality sharpening filters built in, not all are that lucky. Certain newer games lack sharpening entirely or use older, dumber methods. This combined with modern Temporal Anti-Aliasing means that a lot of detail may be lost for no good reason. So RIS is not only a big deal for old games, but it can help some newer titles too! Just remember, it is no panacea – just a very powerful tool!
We will continue this next time in the next part covering VSR, integer scaling, and a secret overpowered technique for superior graphics or performance!
The articles content, opinions, beliefs and viewpoints expressed in SAPPHIRE NATION are the authors’ own and do not necessarily represent official policy or position of SAPPHIRE Technology.