
I have been building computers from scratch since the Intel i386 came out in 1986. Over that time, I have built thousands of systems for family, friends, clients and of course myself. However, with all those computer builds, I have never actually sat down and built a custom liquid cooling loop.
So a couple of years ago I met some of the folks from EKWB (www.ekwb.com) and explained to them that I had never built a custom cooling loop. Needless to say they were surprised and kind of excited by the idea of collaborating with SAPPHIRE. They offered to supply me all the parts I would need, if I ever decided to take on the project.
 Well early this year I decided I wanted a project that was different, something I had never done before and challenging. I got back in contact with EKWB. True to their word Derick and I were soon trading emails discussing the parts I would need.
My goal with this build was actually pretty simple. I wanted something that would allow for a decent overclock on an i7 4700K as well as cool my SAPPHIRE Tri-X R9 Fury card, allowing both parts to be used under heavy gaming load and for all practical purposes to be silent.
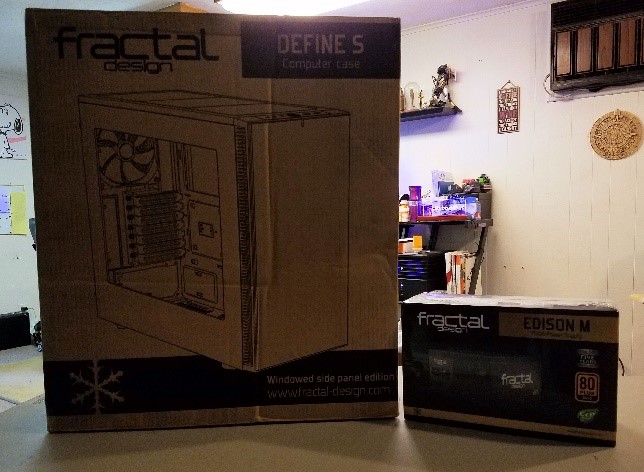
Before we could decide which parts we would use for the cooling, we needed to know what kind of case to use. So I reached out to Josh at Fractal Design. I love Fractal cases: in my opinion they offer a great product at a reasonable price, their case designs are simple but elegant. For this build I chose one of the new Define cases.
Josh understood just what we needed and sent over a Fractal Design Define S and an Edison M 750 watt modular PSU. This will give our build a stylish home, with all the features we need for a great build along with a solid power delivery system.
For the components we will be using a Z97 ATX board I already have, along with an Intel i7 4770K and the above mentioned SAPPHIRE Tri-X R9 FURY. The R9 FURY works well as the Tri-X model uses a PCB that is identical to the Fury X PCB, meaning the EKWB Fury X cooler will be a perfect fit.
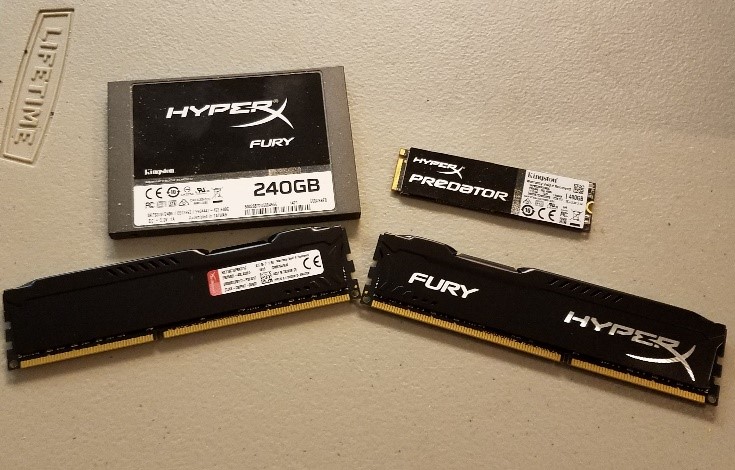
For storage and memory, my friend David over at Kingston sent Hyper X Fury Memory, in black (16 GB DDR3 1866), an m.2 Predator SSD (480 GB) for the games and a regular Fury SSD (240 GB) for the OS.
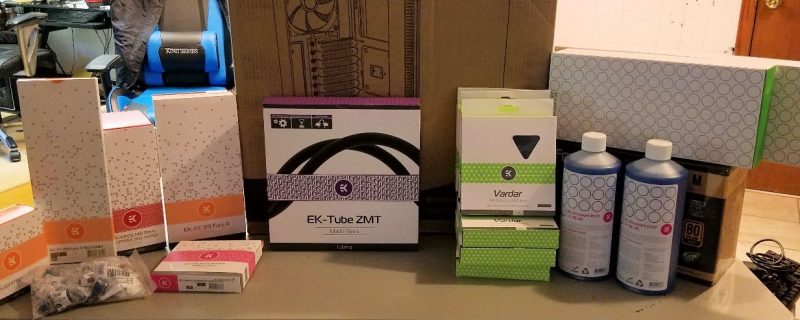
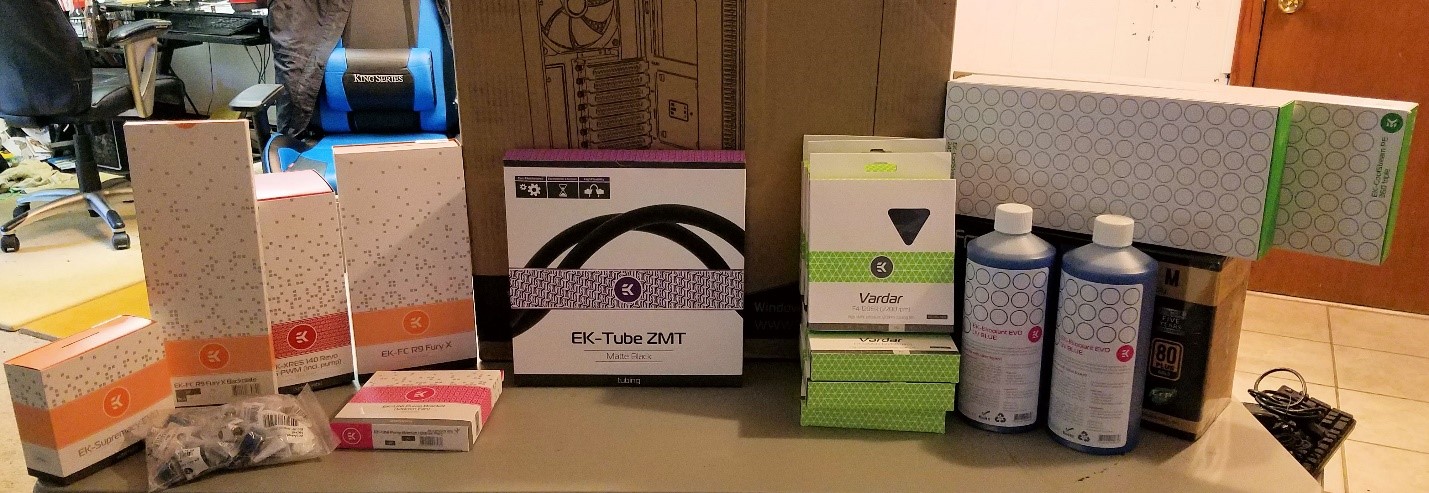
With the core components decided on, Derick at EKWB went to work figuring out what parts would best suit our build and achieve the goal for nearly silent operation.
The core of the water cooling loop we will use is a dual radiator setup with a 360mm rad in the front, and it’s three fans working as intakes. At the top we will put a 240mm rad and its dual fans used for exhaust. With only a single GPU and CPU with a mild overclock this is a bit of overkill in radiator size, but it meets my goals. The large radiator area means the fans will not need to turn very fast to achieve great cooling, even under load. This will result in an ultra-quiet performance. To this we will add a pump/res combo, enough fans for the job, colored cooling solution, needed fittings, CPU and GPU coolers and tubing.
So with all the supplies on hand it is about time to get started. For this build we will document it with pictures and provide an article of my build experience in part two. Part Three will be benchmarks, a look at temperatures and my conclusions of the experience.
So there you have it, Part One of this series complete. We hope you come back to see Part Two. Also before I go, I would like to give a huge thank you to the folks at Kingston, EKWB and Fractal Design for their patience with me on this project and their support.
See you soon with Part Two.